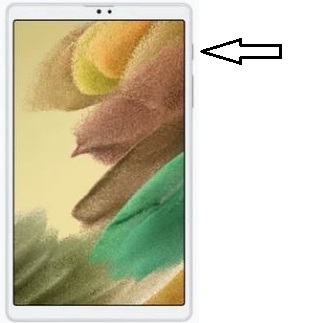
Step 1: Turn on your Tablet
- Turn on the Tablet by pressing and holding the power button.
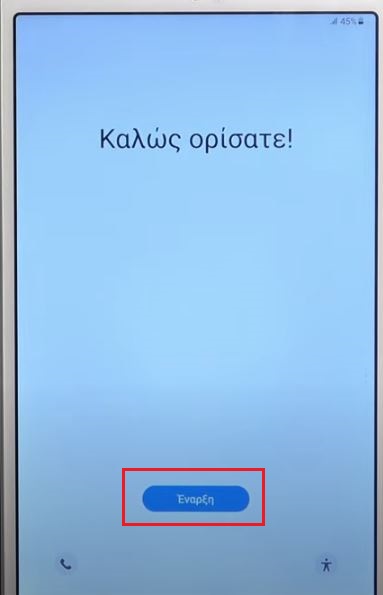
- After the start screen appears, press the “Start or Start” button.
Step 2: Language selection
- Next, you will be asked to select the language you want for the device’s menu. Touch the language you want from the list on the screen.
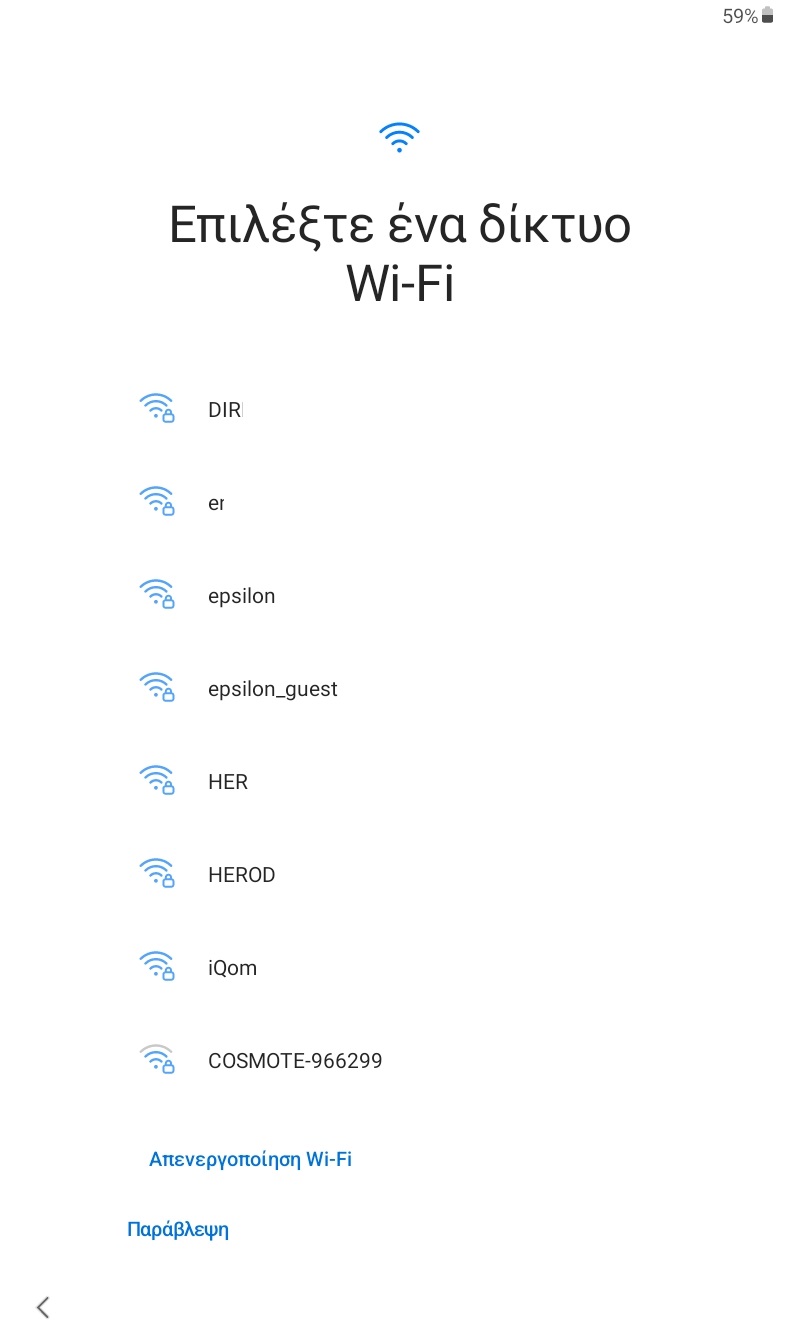
Step 3: Connect to Wi-Fi
- Select the Wi-Fi network you want to connect to from the list on the screen.
- Enter the Wi-Fi network password, if required.
- Press “Connect” or the corresponding button on the screen to connect.
This step is mandatory as the device must receive all necessary updates from the Samsung manufacturer.
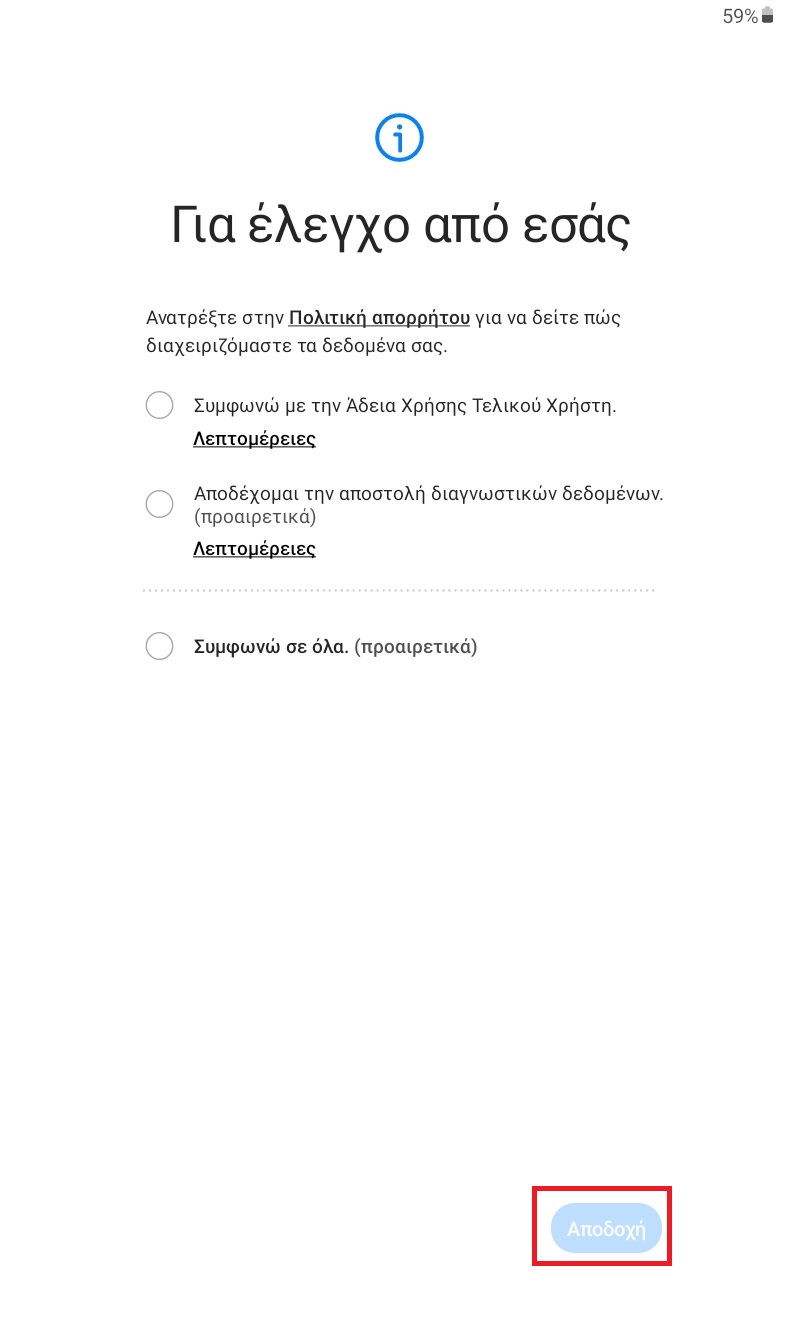
Step 4: Select Privacy and Security Settings
- Read and accept Samsung’s privacy policy according to the on-screen instructions.
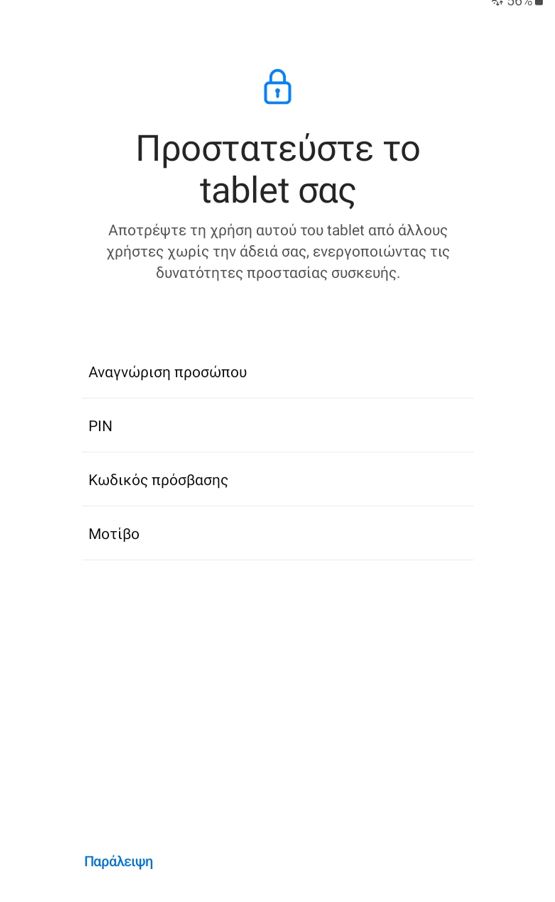
Step 5: Set Device Lock Code
- At this point, you will be asked if you wish to set a lock code for your device.
- If you wish to set a lock code, follow the on-screen instructions to create a code.
- If you wish to skip this step, select the “Skip” option in the bottom left corner of the screen.
Depending on your preferences, you can choose to set or skip the lock code.
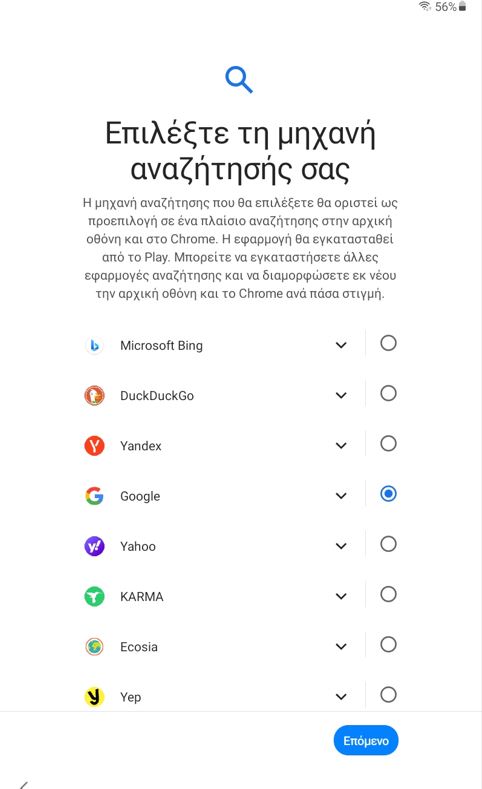
Step 6: Search Engine Selection
- At this point, you can select the search engine that you set as the default search engine from the Android system.
- Select your preferred search engine from the list that appears on the screen.
Depending on your preferences, you can select the search engine you wish to use as the default on the Android system
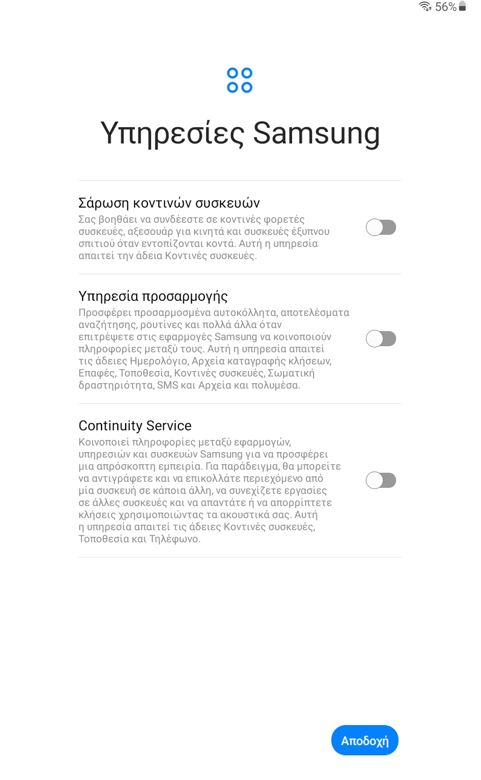
Step 7: Enable Options from (Samsung)
- At this point, you are given the option to activate some features provided by the manufacturer of the Samsung device.
- If you do not wish to activate these features, you can skip this step by pressing accept.
Depending on your preferences and needs, you can choose to enable or override these features offered by Samsung.
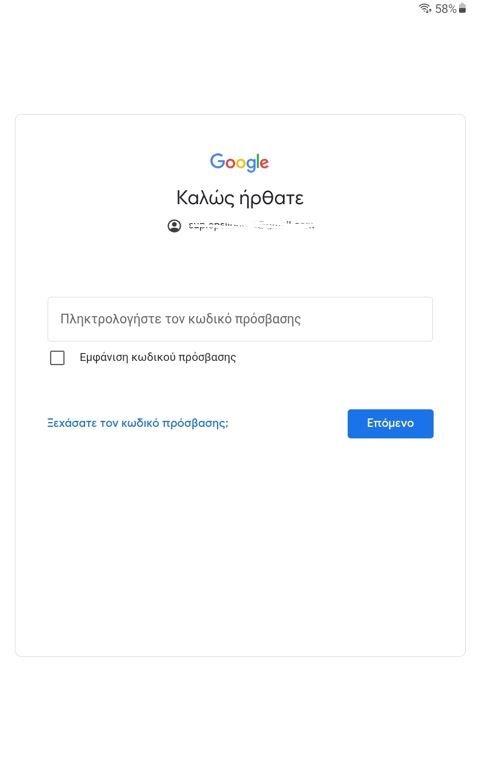
Step 8: Enter your Google Account details
- At this point, you are asked to enter your Google (Gmail) account details.
- This allows the device to receive Android operating system and app updates.
- If you wish to register your account, follow the on-screen instructions to sign in or create a Google account.
- If you do not wish to register your account, you can skip this step.
Depending on your preferences and needs, you can choose to register or skip your Google Account information on the service.
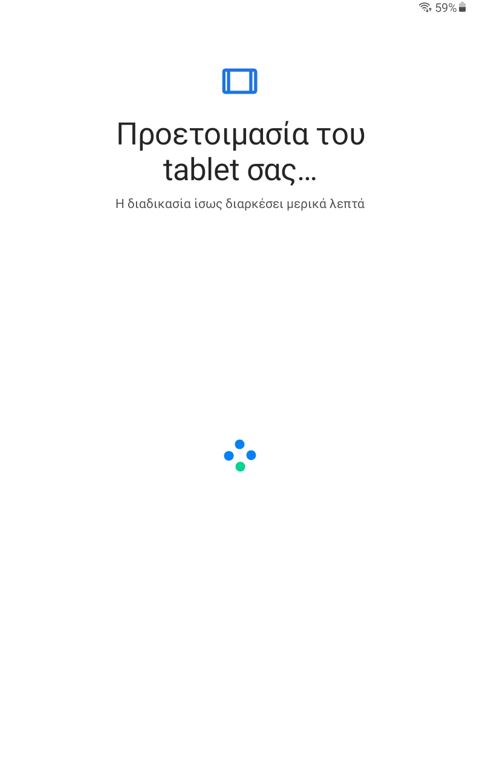
Step 9: Preparing the Device
- After you have completed the previous settings, the device will start the initialization process.
- This process may take a few minutes as the device performs any updates and installs any necessary programs.
- Once the initialization is complete, the device will be ready to use.
Wait a few minutes until the device is fully ready for use.

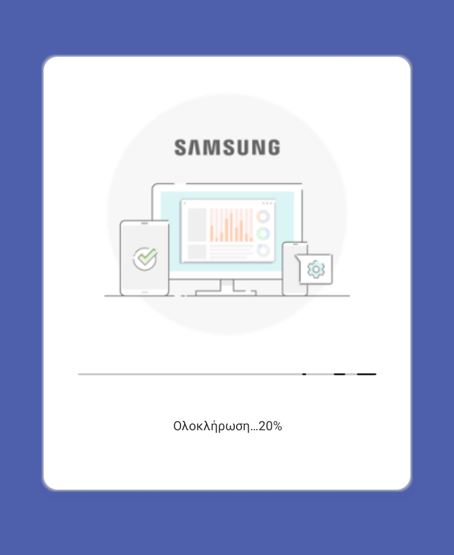
Step 10: Accept the Initial Configuration by Epsilonnet
- Once the device is on, you will be prompted to accept the initial configuration from Epsilonnet.
- By accepting the configuration from Epsilon, the HR Card Scanner application will be installed.
With this process, you will be ready to use your device with the configuration and applications provided by Epsilonnet.

Step 11: Access the HR Card Scanner Application
- Once the HR Card Scanner app has been downloaded, it will be created on the home page of your device.
- You can open the app from the home screen or from the apps menu.
Step 12: Login with Epsilon Smart Ergani codes
For instructions on how to connect the Card Scanner to Epsilon Smart Ergani click here